I got a great VPS deal during the last Black Friday campaign, so I started thinking about how to put it to good use.
Until now, I had been using Coolify as my Docker-based server management tool. It worked well, especially with Redis caching, Nginx and other related services. Recently, I became curious about Dokploy and wanted to give it a try.
To make the switch easier, I decided to recreate the same kind of Docker Compose setup for Dokploy. This article walks through that process step by step, so you can set up WordPress with Redis caching and Nginx on Dokploy in a clean, repeatable way.
Setting Up Dokploy
If Dokploy is not installed yet, you can set it up on a fresh VPS by running the command below.
"curl -sSL https://dokploy.com/install.sh | sh" ← Without the quotes
Code language: Bash (bash)
Run this command as a user with root or sudo access. Make sure the VPS is freshly provisioned for best results. After installation finishes, follow the on-screen instructions to complete the setup. You can find detailed info by following this link.
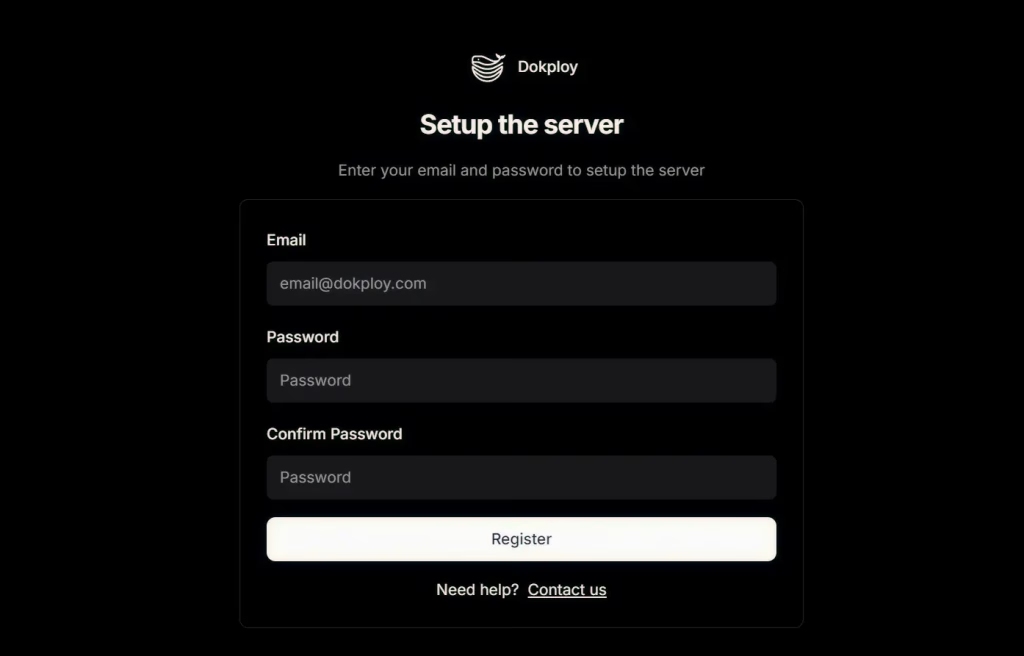
Once the script has finished running, open your web browser and navigate to http://your-ip-from-your-vps:3000. You will be directed to the initial setup page where you can configure the administrative account for Dokploy.
You can also follow this YouTube video to set up Dokploy and complete the initial configuration, including updating the settings to access Dokploy through a custom domain name and enabling SSL.
WordPress on Dokploy
You can add WordPress on Dokploy using the official template available in the Dokploy template library. At first, this feels convenient and fast. However, once you start using it longer term, the problems begin to surface.

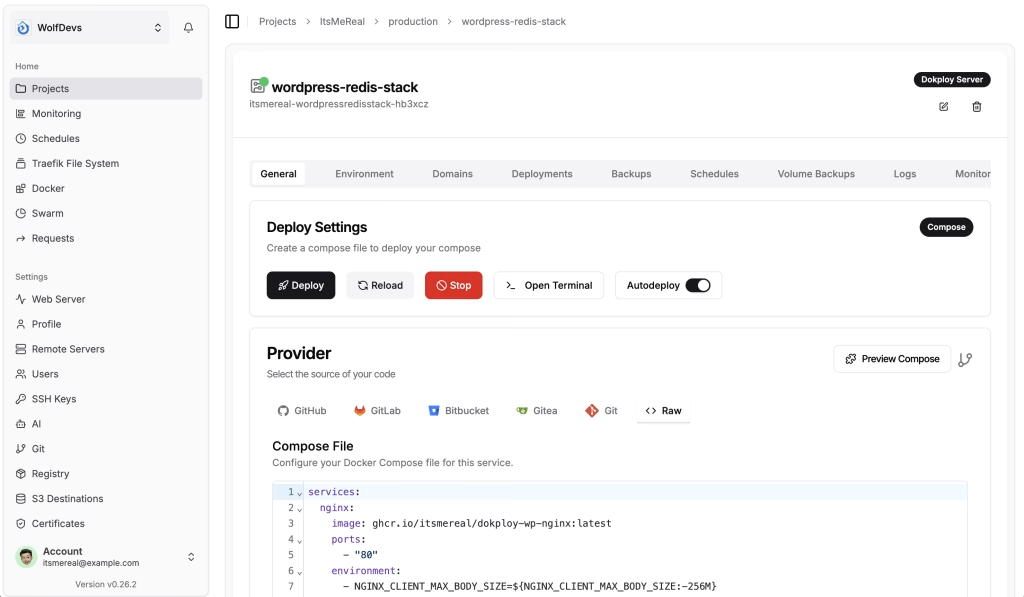
To make it better, I have prepared a production-ready WordPress deployment stack optimized for Dokploy with Redis caching, Nginx, and management tools. This stack provides a high‑performance WordPress setup for Dokploy, using Docker Compose with:
- Nginx as a reverse proxy
- PHP‑FPM for WordPress execution
- MariaDB as the database
- Redis for object caching
- phpMyAdmin for database management
- Pre-installed WP-CLI
WordPress Installation Steps
- In Dokploy, go to Projects
- Create a Project or open an existing Project
- Click Create Service
- Choose Template
- Set the Base URL to:
https://raw.githubusercontent.com/itsmereal/dokploy-wp/main - You will find “WordPress + Redis Stack”
- Click Create and Confirm
- Click Deploy when the service is created
- Once deployed, you can go to the Domains tab and set your domain as needed
- Then go back to the General tab and click the Reload button
- When reloading is finished, you will have your WordPress site ready!
Happy Coding!